
Creating short AI videos for TikTok or YouTube Shorts is easy. However, producing a long-form YouTube video that lasts 10 minutes or more is much more challenging. Many creators try to clip one scene at a time, but by the time they get to scene variation 10, they’ve lost their major idea.
Can you create a long 10-minute video using the simplest free Video Using Free AI to build a channel and get out of debt? Yes, you can. This guide tells you exactly what works, what equipment fails, and how to create a high-quality video with an awesome plan, matching images, and natural voice tones.
Step 1: The Production Map (Your Video Plan)
Before you generate any images or footage, you need a solid plan. This is called a Production Map. If you just speculate on each scene separately, your project will quickly disintegrate.
Free Use of “Arena”
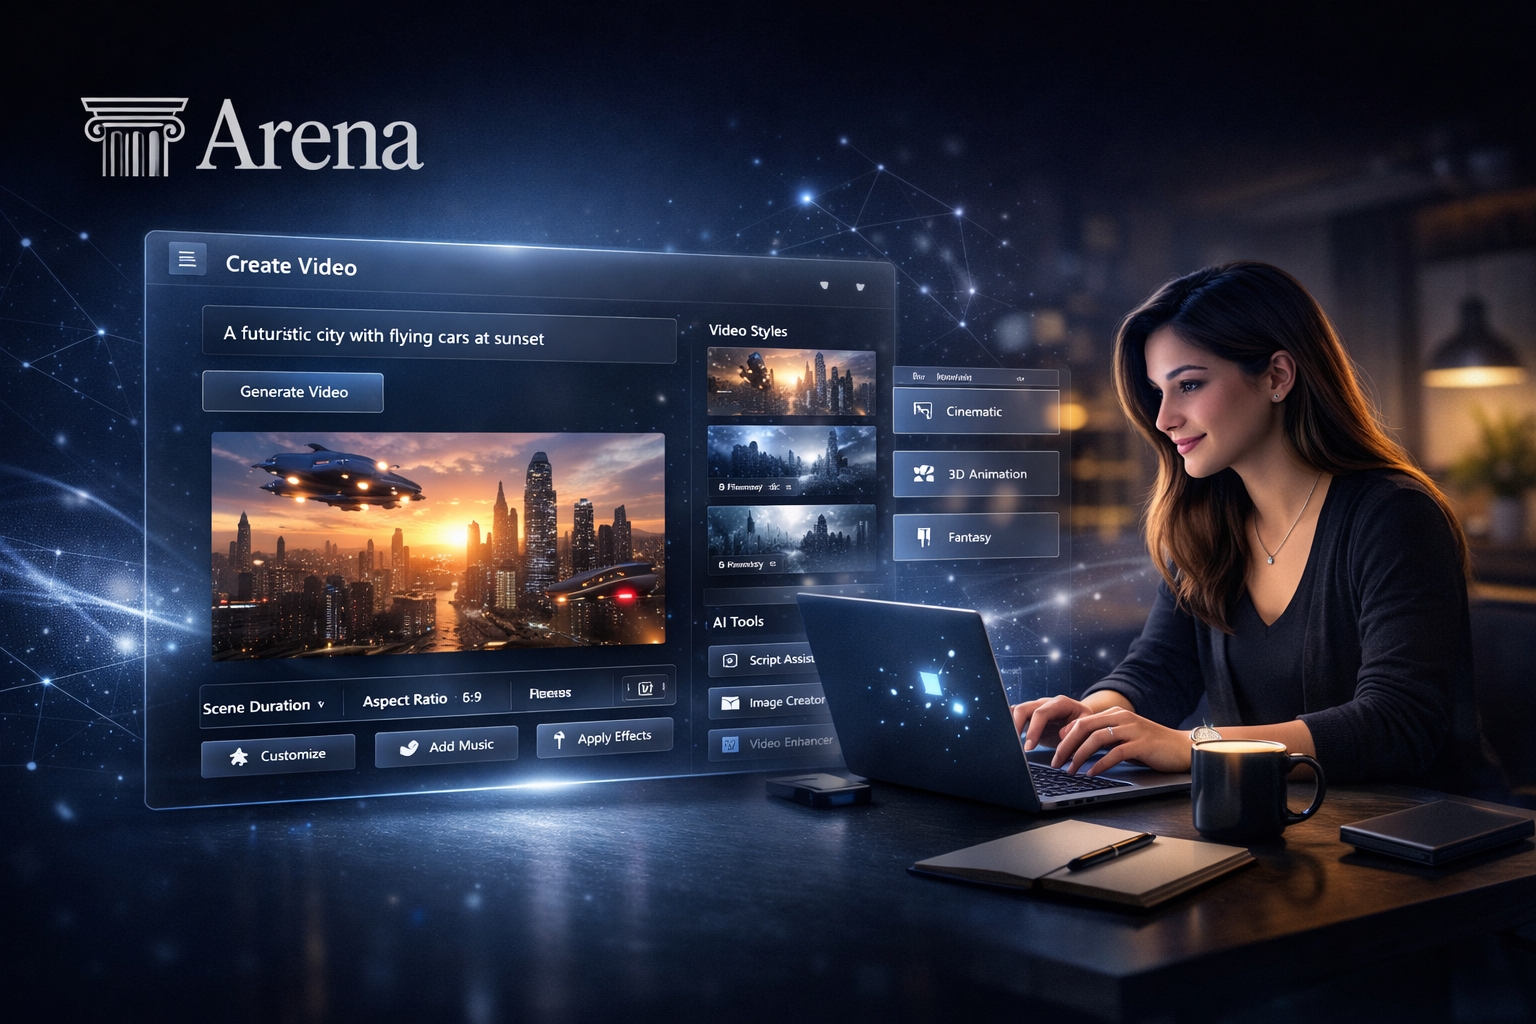
To access the highest quality and smartest AI models without buying a subscription, you can use a platform known as Arena (LMSYS). It offers you unbound, direct access to top-notch text models. In this workflow, we use two instances of Arena:
- Idea Search: If you don’t have a topic right now, ask the model to provide you with a list of exciting, viral ideas (such as archival mysteries or tech news).
- Creating Visual Segments: Once you’ve identified the concept (for example: Chernobyl in 1986), ask the model to plan a ten-minute video.
Numbered Scene Blocks
The model will create Numbered Scene Blocks. Each scene is roughly 5 seconds long and includes three important elements:
- Image Prompt: Detailed instructions to create your static photo.
- Video Prompt: Directions on how to navigate the AI camera (e.g., zoom, pan).
- Statement Line: The exact words for the voiceover script.
Pro Tip: If you want an even longer video, just ask the model to generate the next set of scenes. This system allows you to scale your videos to 15 or 20 minutes effortlessly.
Step 2: Creating Images and Videos (The Free Visual Chain)
Long videos require a massive library of visuals (usually 50 to 80 frames). Most free tools stop working or start adding obnoxious watermarks after just a few attempts.
The Solution: Meta AI

Meta AI is currently one of the best free systems for generating images and animations for long-form content. Here’s why it works so well for creators:
- Four Options at Once: Every time you enter a prompt, it gives you four distinct images to choose from.
- Edit Option: If a face looks right but the lighting is incorrect, you can adjust specific details without starting over from scratch.
- Restyle Feature: This button allows you to apply the exact same artistic style to every photo, ensuring your scenes look consistent throughout the video.
Why Image-to-Video is Better Than Text-to-Video
For long films, it is always better to generate a static image first, and then turn it into a moving video. This gives you complete control over the visual details.
Once your image is ready in Meta AI, click on Custom Animate and paste the Video Prompt you generated from Arena. By doing this, a completely free tool handles the most expensive part of the production process.
💡 Helpful Tip: Store every completed video clip in a separate folder and label it with its matching scene number (for example: Scene_01, Scene_02). Staying organized will save you a lot of time later, especially when working with dozens of clips during the editing process.
Step 3: Upgrade Your Quality (Higgsfield AI)
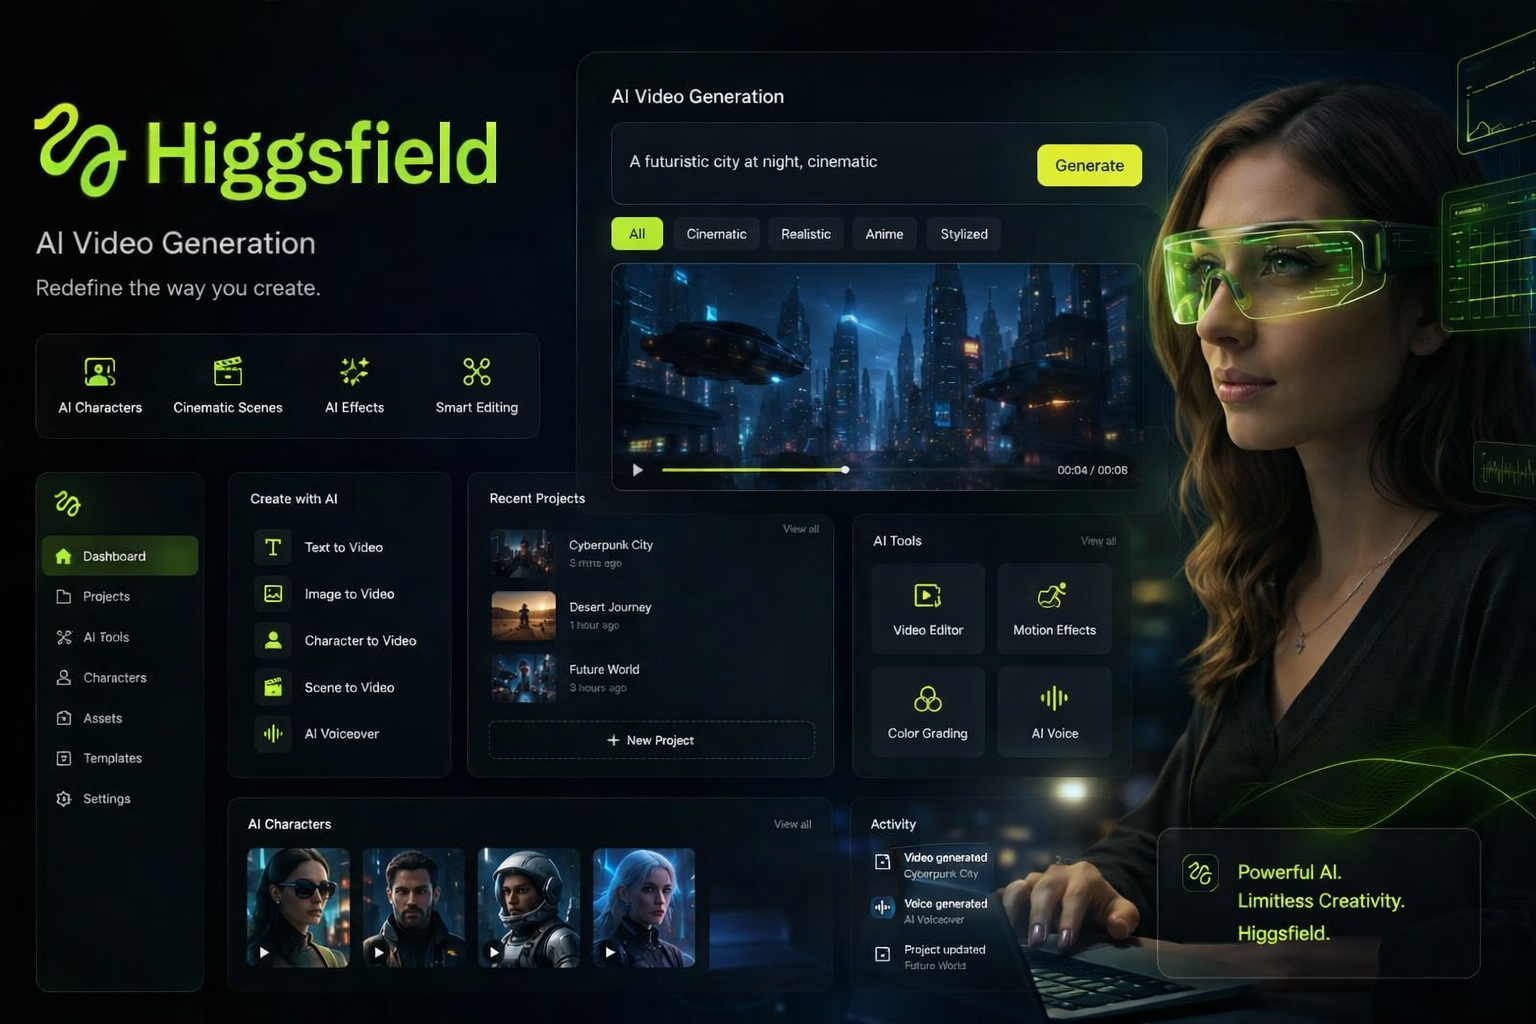
If you want to move past basic free tools and make your video look like a high-budget Hollywood movie, you can upgrade your workflow using Higgsfield AI.
Higgsfield brings image, video, and audio generation into a single platform so you don’t have to constantly switch between different apps.
- 4K Resolution: Using its advanced image models, you can generate stunning visual assets at 4K quality.
- Cinematic Motion: You can use its animation tools to move the shot by simply describing the exact camera speed and direction.
- Built-in Audio: Best of all, this AI generates matching ambient sound effects at the exact same time, saving you the hassle of searching for background noises later during the editing phase.
Step 4: Generation of Voice Recording (Audio Narration)
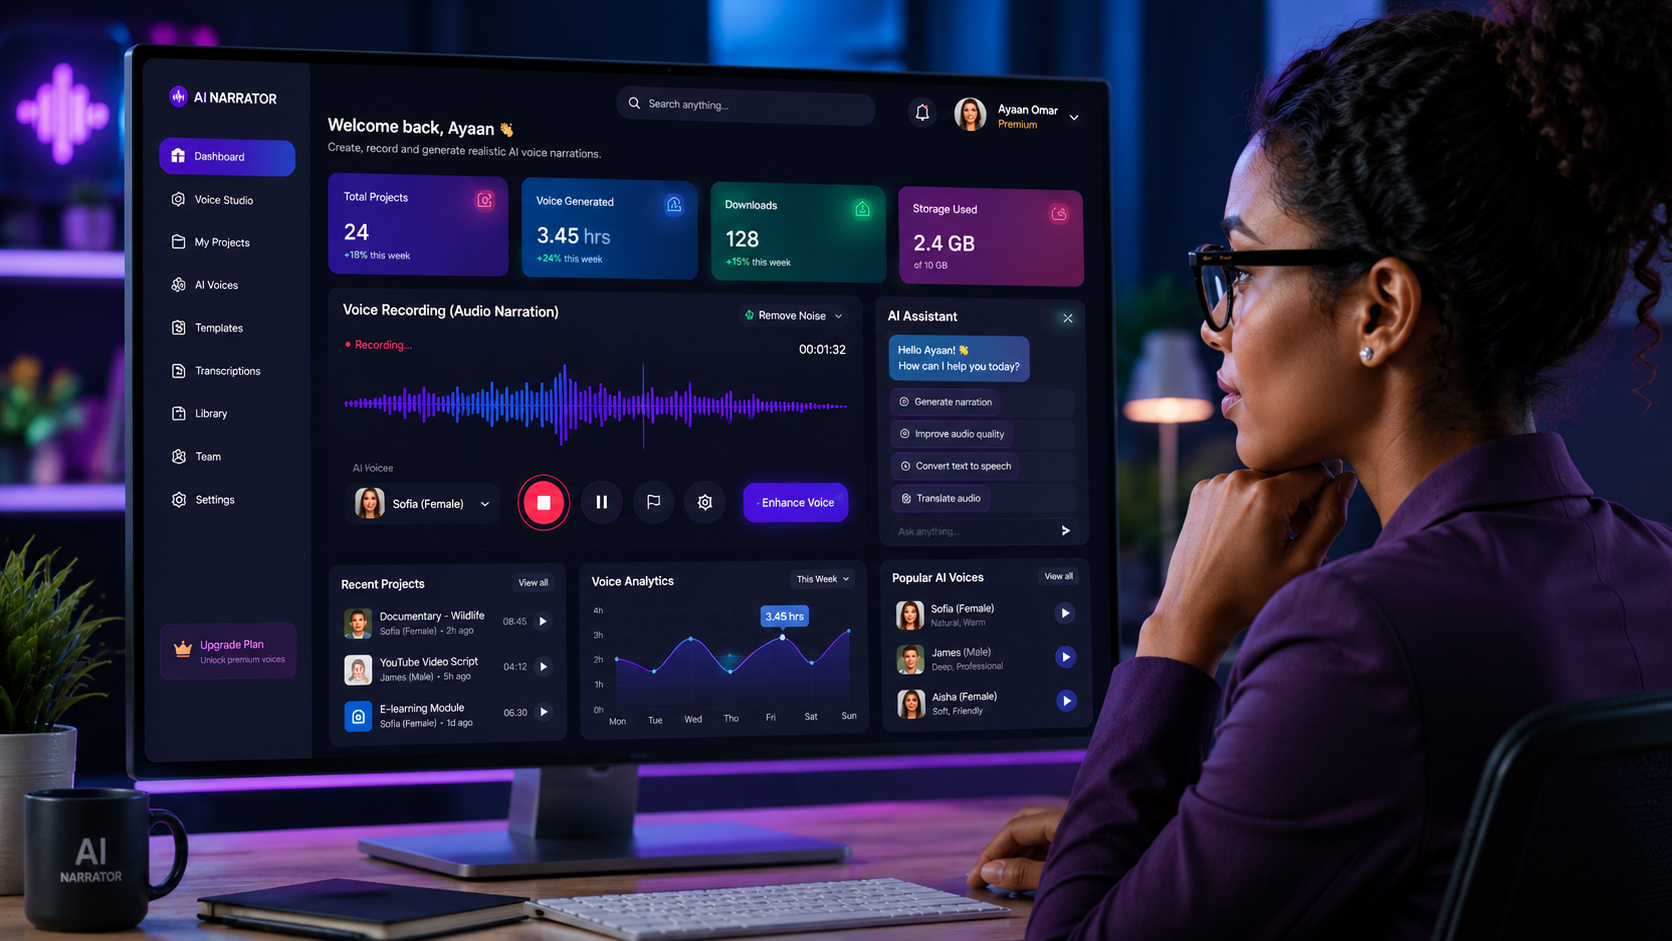
Popular tools like ElevenLabs offer great quality but can become expensive for long-form content, and standard free text-to-speech tools often hit hard limits when your text is longer than 10 minutes.
The ultimate free, unlimited solution is to run a high-quality voice model directly on your personal computer.
How to Create Free Long-Form Audio:
- Download Pinocchio: Go to your browser and download the free software called Pinocchio, which allows you to install complex AI tools with a single click.
- Install Ultimate TTS Studio: Search for Ultimate TTS Studio inside the Pinocchio app dashboard and click install.
- Select Kokoro TTS: Choose Kokoro TTS as your primary voice model.
💡 Why Kokoro TTS? It can generate over 10 minutes of perfectly natural, human-like audio in a single run. Because it runs directly on your local machine’s hardware, it is completely free, has no token limits, and requires no monthly subscriptions.
Pro Tip: Generate your entire script as one big audio file. This ensures that the AI voice flows naturally from scene to scene without abrupt shifts in tone or breathing intervals.
Step 5: Editing and Music (CapCut & Suno AI)
Now that you have your numbered video clips and your complete long-form voiceover track, it is time to assemble them into a final video masterpiece.
1. Editing in CapCut (Desktop Version)
- Download CapCut Desktop: Download the completely free computer version of CapCut for better performance with 10-minute timelines.
- Import Your Assets: Drag and drop your numbered video clips into the media bin. Because you named them sequentially (Scene_01, Scene_02), you can drop them onto the timeline, and they will align in perfect chronological order automatically.
- Sync the Audio: Drop your main vocal track onto the audio row. Go through each video clip and gently trim or adjust its playback speed so the visuals match the narrative perfectly.
- Polishing: Add smooth, professional transitions and subtle visual effects between scenes to keep the audience’s eyes glued to the screen.
2. Adding AI Background Music
Go back to your Arena prompt history and ask the AI model what style of background music best suits the specific mood of your theme.
- Generate Music with Suno AI: Take that specific genre description and paste it into Suno AI.
- Set to Instrumental: Make sure to toggle the “Instrumental” (No Lyrics) setting on. This ensures that background vocals do not fight against or drown out your primary narration voice.
- The Final Mix: Download your custom AI track, drop it into CapCut, and lower its volume to around -20dB so it sits comfortably behind your voiceover. Finally, export your video in 1080p or 4K, and it is ready for YouTube!
Conclusion: Your Free AI Animation Factory
Creating a high-quality, ten-minute YouTube video using 100% free AI tools is completely viable today. By mastering this strategic workflow (Arena \rightarrow Meta AI \rightarrow Pinocchio/Kokoro \rightarrow CapCut), you can easily bypass costly paid subscriptions and build a highly profitable digital asset from scratch.
However, if your primary goal is to tell an extraordinary story that grabs the audience’s attention and maximizes your watch time, these free tools are genuinely all you need to succeed.